Showing posts with label upcycle. Show all posts

August 9, 2010

Makeover Monday: Plastic bags

 Plastic bags are convenient, I'll agree.  It's so easy to just go to the store and have the cashier put your things in those plastic bags than it is to bother bringing your own reusable bags.  But let's stop and think for a moment how wasteful those bags are.  Sure, three or four bags a week for your household doesn't seem like much, but did you know that, according to the New York Times, Americans throw away about 100 billion plastic bags each year?  Considering plastic takes hundreds or thousands of years to decompose, it's a big problem that should be taken care of now.

There's good news, though.  If you're a crafter, there are tons of ways you can use plastic bags.  My favorite way is by making a plastic yarn out of it, usually called plarn.  It's a simple process.  I like making it while watching TV.  Here's a great page that tells you how to make it.

Once you've got your plarn made, you can make just about anything you want with it.  Truth be told, if you make the plarn thin enough, you can use it like you would any other kind of yarn.  You probably don't want to make a sweater out of it, but I bet there are lots of cool patterns you already have that you can use.

This is a small change purse I made with plarn!

Of course, in my searching, I found a bunch of awesome patterns made specifically with plarn in mind.  And my favorites were the ones for useful, everyday items that save you from having to go out and buy.  What better way to use your old bags than to make a new reusable market bag?  Once you have a few bags made, you'll never have the problem of plastic bags again.

This crocheted plarn basket is useful and also really pretty, and it reuses another commonly tossed plastic item.  Super cool idea?  Recycled giftwrap plarn box is an awesome way to give gifts.  Not only do your friends get a nice gift, they also get a neat little plarn box that they can either use in their house or use to give another gift.

Another cool idea is this plarn backpack, which not only is very pretty but will likely save you a bundle (backpacks are expensive!).  Along those same lines is this plastique plarn purse, which is so unique and sharp looking that I wouldn't have guessed it was made out of plarn.

Here are handful of others I really liked:  Clothes pin bag, Baseball cap, Water bottle holder, Pot scrubby, Round rug, Scrubby dish cloths.

Another option for plarn, if you don't know how to knit or crochet, is to weave it.  Anyone can weave with the simplest of materials.  Here's how to start on a cardboard loom.  Weave small squares, and then stitch them together to make a rug or a bag.

For those of you less crafty in general, here is some simple, everyday uses for plastic bags:


1) Use them as trash can liners

2) Use plastic bags instead of packing peanuts when you ship

3) Wrap them around fragile items when moving or storing

4) Reuse as a grocery bag

5) Emergency rain hat

6) Cut and tack to shelves for a washable shelf liner

But the best way to cut down on the amount of plastic bags that you throw away is to start taking reusable market bags with you to the store.  Keep them in your car at all times so that you're less likely to forget them.

PS, if any of you can't crochet or knit but you would love to have some of those items I posted, let me know!  I'd be happy to make them for you.

August 2, 2010

Makeover Monday: Cereal Boxes

Since I couldn't think of anything more catchy, I decided to call my recycle and reuse posts "Makeover Monday". Keep an eye out for them on Mondays!

I posted a pretty neat article about using food boxes for shipping, but I feel like these things have so much potential that I'd write something more about it.

These boxes are so wasteful. I mean, they have a plastic bag inside that holds all the food, so what's the point of the box? Back in the old days, they didn't have the plastic bag inside; that came later when people got concerned about food safety, and I do think the plastic bag is a good idea.

That said, I don't like that these boxes simply go into the trash once we're finished with the food. I feel like there could be so much you can do with them. Here's a few things I do.

1) Make post cards


Sounds simple, right? And it is. Just get an old 4x6 picture you don't like (or a piece of photo paper) and use that as a template to trace out the rectangles. On the back you can make designs, draw lines for the address, really do whatever you want so long as the address is on the right side and the stamp is up at the right corner. Voila! Cheap and easy post card.

2) Make a mini notebook


This is pretty easy, too. Take one piece of copier paper. Fold in half and either cut or rip at the seam. Continue until you have eight small, long pieces of paper. Cut a piece of the cardboard out that's slightly larger than the paper on all sides. Fold the paper and the cardboard in half, and put together. Now you can staple the paper and cardboard together, but I like to hold it together with string.

Open the paper out to the middle again, and with an exacto knife (or any sharp knife), make two small holes a half inch from each end. You can use a hammer and nail if it's easier for you. Once the holes are made, cut a piece of twine, yarn or some sort of strong string about 12 inches. Put the string in the first hole through the paper side, then through the second hole on the cardboard side. You'll have both ends of string coming out of the paper side. Take the ends around to the cardboard side and tie tightly along the back. Enjoy your notebook.


3) Make business cards

Although you CAN print business cards on this paperboard, that's a whole other post I'm saving for another day.

However, handmade business cards on the back of old food boxes are so cool looking and totally eye catching. Cut the boxes out into 2x3.5 inch rectangles and start designing! Draw a little something in the corners, write your name and website and maybe a little about yourself, and you're all set.

4) Make tags


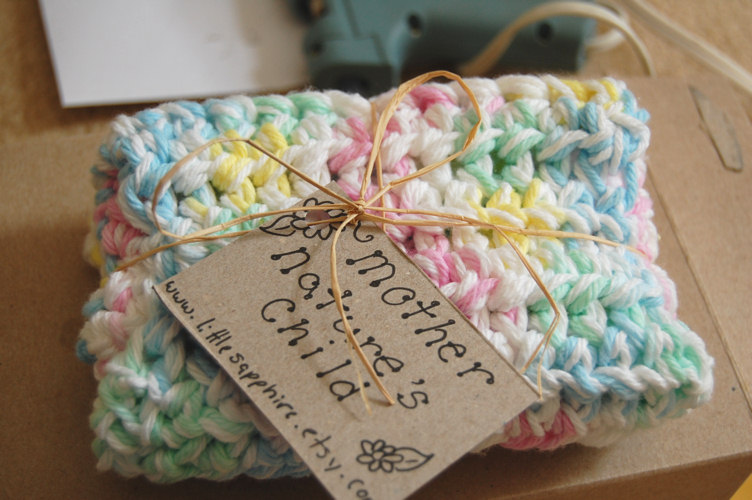
I put tags on everything I make, not just to remind people where they got the product but also because it makes it look finished. And using handmade tags using recycled boxes and tying them on with raffia gives it that homey, earthy feel that I'm trying to convey in my shop.

Tags are easy. Cut out the boxes in squares or rectangles to whatever size suits you (I usually do about 2x1.5). Punch a whole in one corner (the top left works best), and then write your shop name and website in the blank space. Doesn't that look nice?

5) Make place cards

Know anyone who's getting married or having a party? If they're into the earth-friendly green thing, suggest to them using old boxes for their place cards. Cut out squares, fold them in half, and then write the names of the guests on the cards.

6) Make coasters

In need of coasters? Cut out 3x3 squares and toss them around. They're only good for one or two uses, but at least you'll have reused the boxes before tossing them.

7) Make bookmarks

And who doesn't need a bookmark? Simply cut the cardboard to the size you want and stick it in your book. Alternatively, you can cover the cardboard with pretty paper, scallop cut the bottom, add a tassel and give them away as stocking stuffers to friends.

Have any more ideas? I want to hear what you guys think!

July 31, 2010

Ecofriendly Shipping

****** This is a reposting of something I wrote about a year ago. I thought it would fit perfectly with this blog, though, so here it is! *******

When I started my Etsy shop last year, I had this crazy idea that, hey, I bet I could save a TON of money on shipping supplies and be good to the environment at the same time! I spread my idea around to feel out how people would feel about it, and everyone thought I was totally crazy.

And being the adventurous kind of girl I am, I tried the idea anyway. On someone in Canada. I figured if it made it through the border, it would make it through anything.

So I bet you're wondering what my big idea was. I really like drawing things out. It gives me a bit of a thrill.

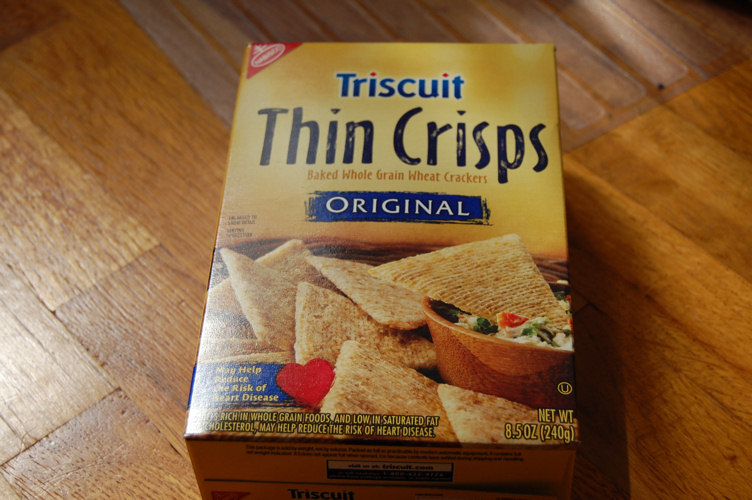
Well, you know when you finish a box of crackers, you have this box left over? Or a box of stuffing, or cereal, or just about any food stuffs these days. There's this perfect empty box just waiting for someone to do something with it, and instead of putting it to good use, most people throw it away. Not me. I'm cheap as hell and crafty to boot.

So what I did was I took the box apart. I thought, "Hey, I bet I could turn this inside out and then glue it back together, make it a generic box on the outside and kind of funky cool on the inside." Plus, it's a huge savings for me in shipping, both because I don't have to buy packaging, and because these boxes are much lighter than their cardboard brothers.

And being the generous and loving person I am, I decided to share my idea with all of you! With picture instructions, of course, because it's fun to look at pictures.

For this project, you'll need three things:

-Empty box
-Hot glue gun
-Hot glue


For the box, you want one the size of, say, stove top stuffing, crackers (not saltines), or those small boxes of granola. You can use something bigger like a cereal box, but they're way too big to be shipping small stuff in. Although you CAN cut these boxes down, it takes practice to get it right. I'll have to post how to do that another time.


Oh yeah, just click on these images if you want to get a better look at what I'm doing. I thought it would be kind of mean to have all these pictures in their original sizes sitting around to attack your internet speed.

After you get your box, it's time to dismantle it. The first thing you want to take apart are the bottom flaps. Those are pretty easy to unstick.


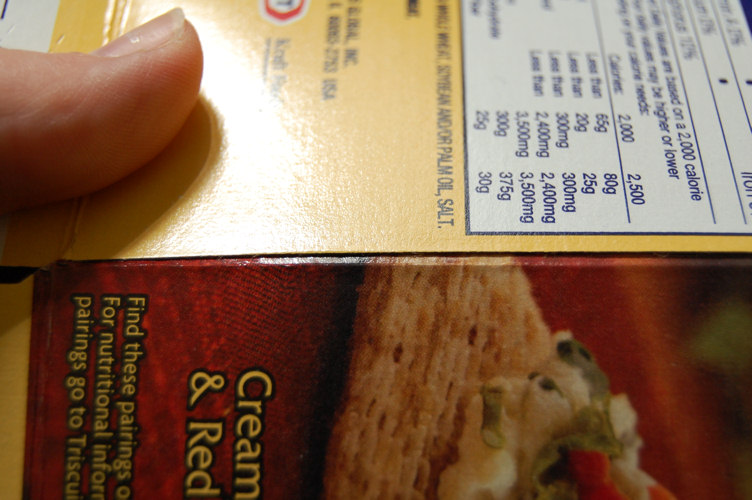
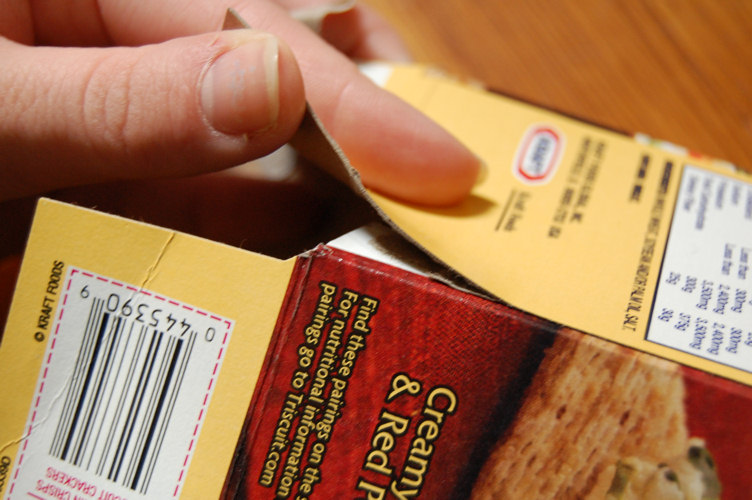
Once that's done, the next step is to look along the side of the box for the magical seam that gives it its boxy shape. It's usually a little hard to find at first, but keep looking. This seam is a little harder to take apart, so you might try putting an envelope opener in it, or maybe a sharp knife. But DON'T CUT THE BOX! You just want to unglue it, not cut any part of it off.


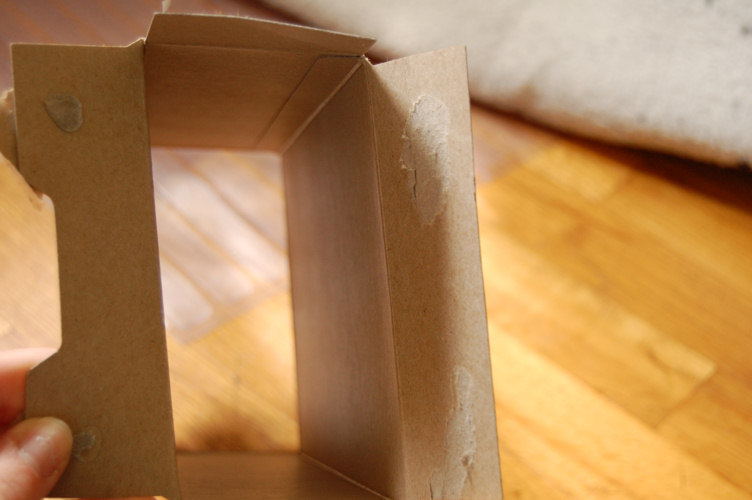
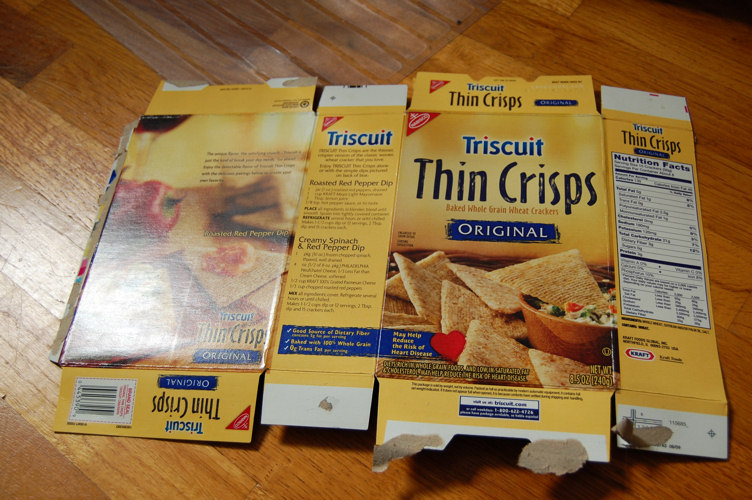
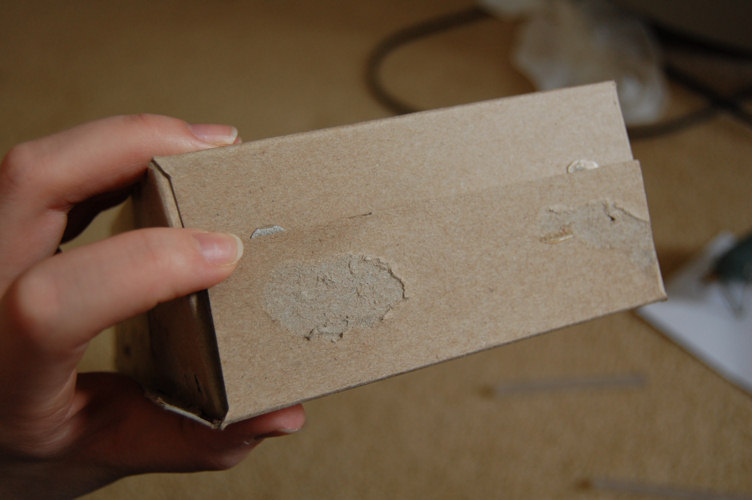
When you're done, you should have something that looks like this!


That wasn't too hard, right? Ok, we're about half way through already. The next step is just folding all the folds in the opposite direction, essentially turning the box inside out.


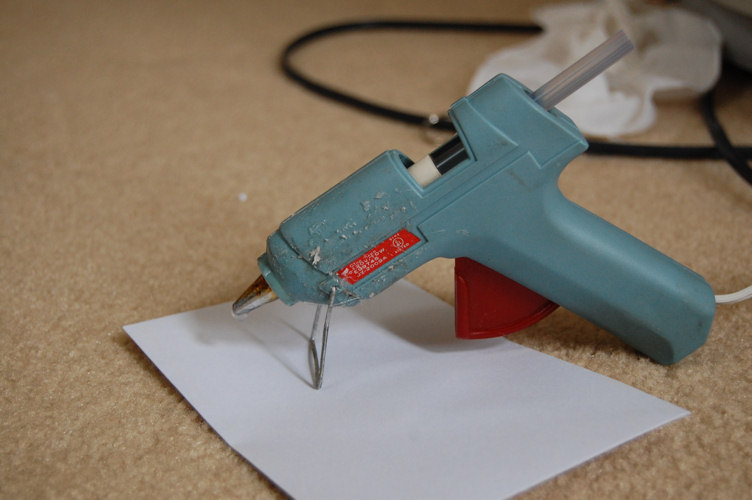
Next, get out your handy dandy glue gun. I use an ancient high temp gun I've had since I was about 12 (13 years!). You can count its age by the depth of the glue stuck on the outside of the gun.


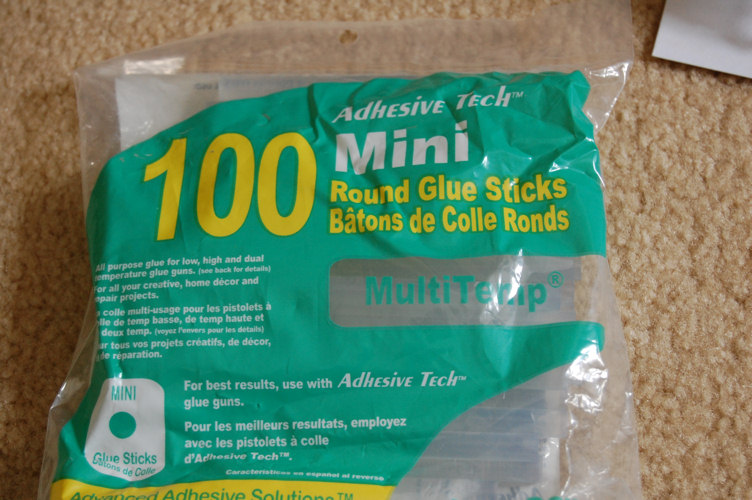
Of course, you'll need glue sticks. This isn't so bad, though. You can get 100 glue sticks for something like $1 at Walmart, and since each box takes about half a stick, that means you only pay roughly half a penny per box. Not a bad price for packaging.


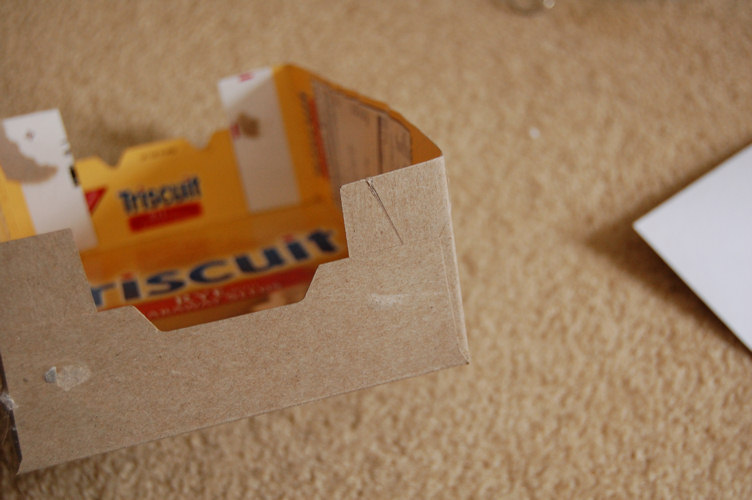
Now, when you start gluing, you do NOT want your box to end up looking like this:


Yeah. I totally wasn't paying attention because I was thinking in my head about what I would say in this post, and glued down all the flaps. Which is ok, except then you can't get anything into the box, and I really doubt your patrons want to get an empty box in the mail.

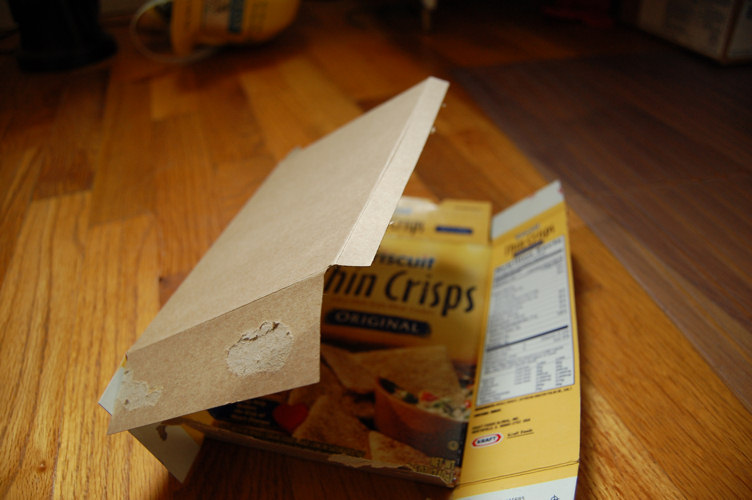
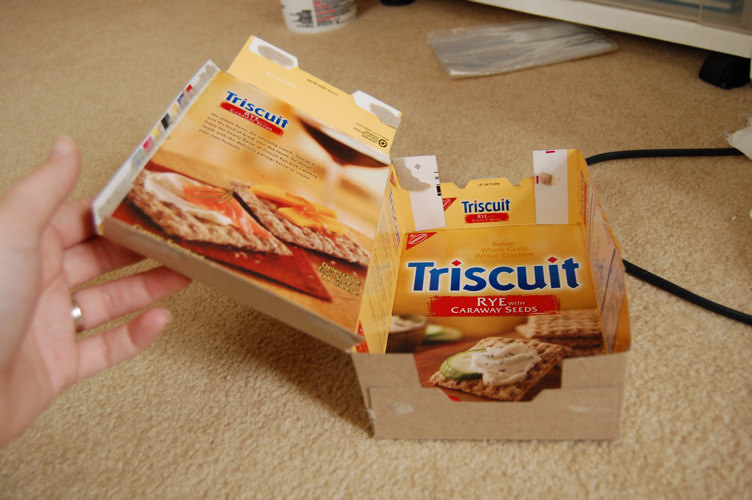
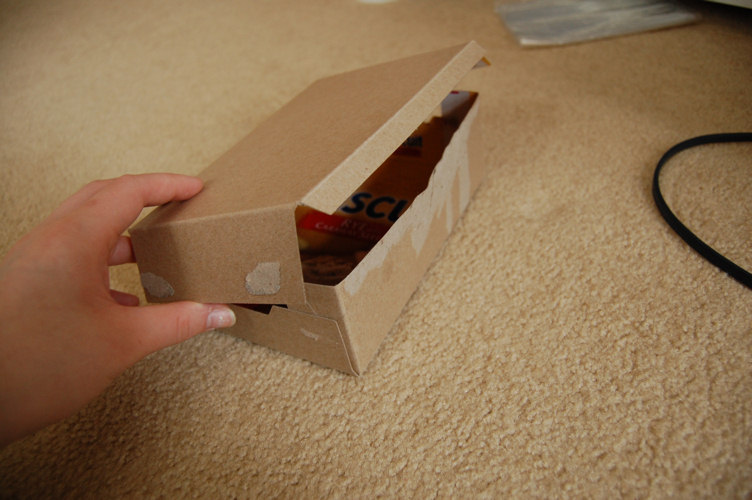
Instead, what you want to do is glue only the bottom three flaps of your box, so that it comes out looking like this:


The reason for gluing it like this is so that you have a top flap that you can fold down. And see, it has a little bit that overlaps, so it secures better when tape it.

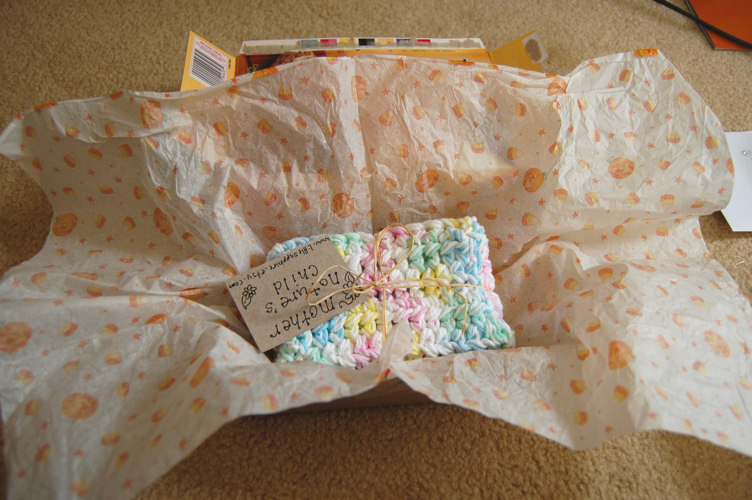
Of course, next you want to package up your item and put it in the box! I always tie a little raffia around what I made and add a cute little handmade tag (also made out of old boxes!). Once that's done, I wrap it in tissue paper and bundle it all together.


And that's about it! The boxes are just the right size so you can simply wrap clear packing tape all around the narrow side panels to secure it. I generally add a little extra to the top and fold it down over the overlapping flap. Just in case.

You probably wouldn't want to do this for packaging if you were shipping, say, five things a day. You'd run out of boxes pretty quick. But two or three a week wouldn't be a stretch. I've often thought about using really little boxes, like soap boxes and butter boxes, but I have no idea how small a box the PO will send. But seeing as they'll send things like bananas and shoes, I can't see why they wouldn't send a little box.

Also, if you're paranoid (like I was when I first started making these), you can reinforce the corners with pieces of cardboard. Just cut the cardboard to the height of the box, and maybe two inches wide. Then fold the cardboard in half, so that it fits snugly into the corner of your box, and simply glue it down. I also would glue the box shut once I got the items in it, but I decided that was probably a bad thing. I hate having to tear a box to shreds to get into it, and I'm sure everyone else does!

Ok, so BIG WARNING!! Do not ship anything fragile in these boxes. There is a chance for them to get crushed, and so fragile or heavy items should be shipped in a larger, sturdier cardboard box! They work perfectly for me because my items are soft and squishy, and because they fit snugly into the boxes and leave no room for the box to get crushed. Just a warning so that if you complain, I can tell you that I told you so :D

So off you go to save the world from clutter, one box at a time!

What's for sale


Mother Nature's Child | Creative Commons Attribution- Noncommercial License | Dandy Dandilion Designed by Simply Fabulous Blogger Templates